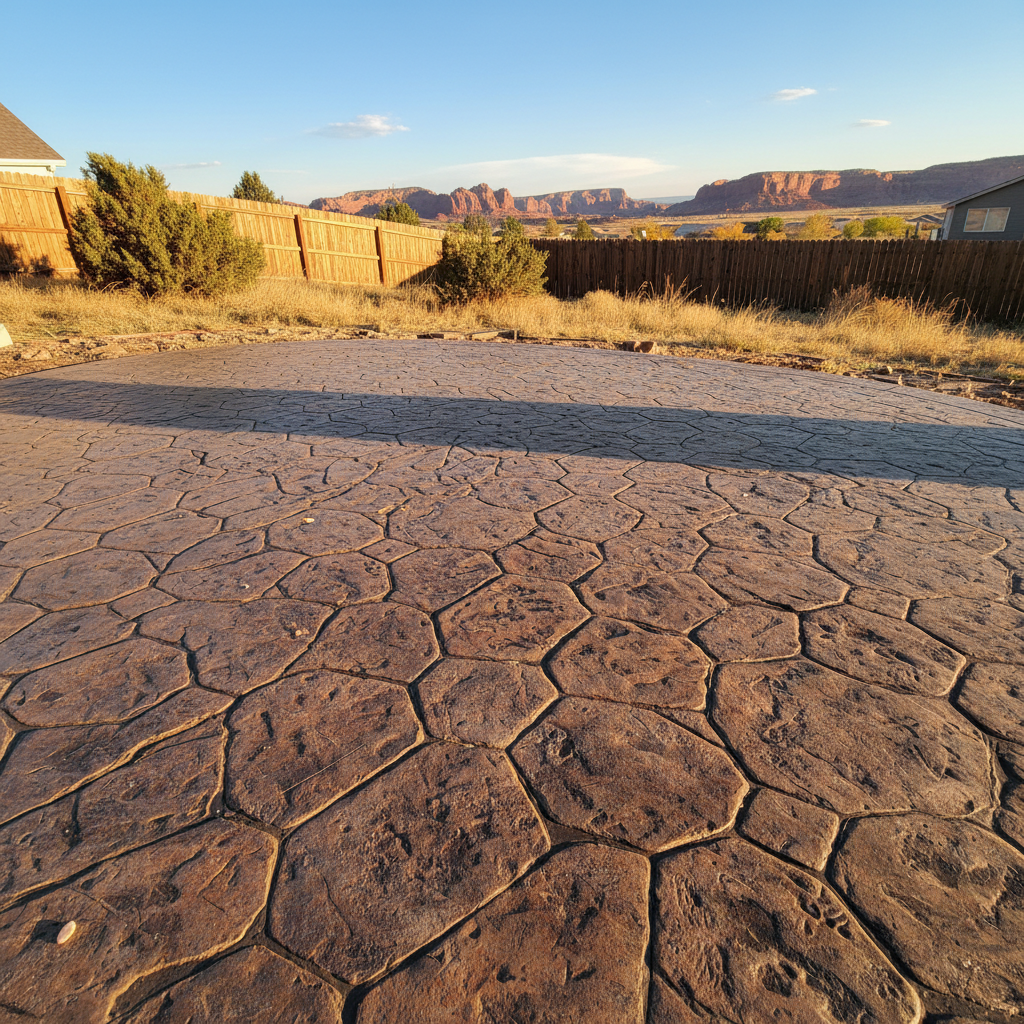
So, you're thinking about stamped concrete? It's a fantastic way to get that high-end look of natural stone, brick, or wood without the crazy price tag or all the upkeep. I've seen a lot of homeowners in Lehi fall in love with the idea, and for good reason – it really spruces up a patio, walkway, or even a driveway. But before you dive in, let's talk about what you're really getting into. We'll cover what parts of the job you might be able to handle yourself versus when you absolutely need to call in the pros.
Before You Start: Planning & Prep
This is where you can do a lot of the groundwork, and honestly, it's crucial for a good outcome. First, think about your design. What pattern do you like? What color? There are tons of options out there, everything from flagstone and cobblestone to wood plank textures. You'll want to pick something that really complements your home's style. Don't just pick the first thing you see on Pinterest, though; really visualize it in your space, you know?
Next, consider the area itself. Are we talking about a small patio, a long, winding walkway, or a whole driveway? The size and complexity will dictate a lot about whether this project is even feasible as a DIY. You'll also need to think about drainage. Lehi's got its fair share of sloped lots, especially up in places like Traverse Mountain. You definitely don't want water pooling up against your foundation, so proper grading is essential. This isn't something you can just eyeball; you need to plan for a slight slope away from your house, typically 1/8 to 1/4 inch per foot.
Now, here's where the DIY part starts getting a bit tricky: site preparation. You'll need to dig out the area, usually 4-6 inches deep, and then compact the subgrade. For a small, simple patio, you might be able to rent a plate compactor and do this yourself. But if it's a large area, or if your soil is particularly rocky or clay-heavy – which we see a lot of around here – it's a huge job. You'll also need to set up forms, and these need to be perfectly level and square. If your forms aren't right, your concrete slab won't be right, and that's a mistake you can't easily fix.
During the Pour: When to Call in the Big Guns
Okay, so you've got your forms set, your base prepped and compacted. Now comes the concrete pour itself, and this is almost always where I tell homeowners to step back and let a professional handle it. Why? Because concrete waits for no one, and stamped concrete is even more time-sensitive. You're not just pouring a slab; you're pouring, floating, coloring, stamping, and often sealing, all within a very specific window of time.
Here's what goes into it:
- Ordering the right mix: You need concrete with the right slump and strength for stamping. Too wet, and your stamps won't hold; too dry, and it's impossible to work.
- Pouring and screeding: Getting the concrete evenly spread and leveled is hard work, especially if you're not used to it.
- Coloring: This can involve broadcasting powdered color hardeners or mixing integral color. Broadcasting needs to be even, or you'll get blotchy results.
- Stamping: This is the real art. You need to apply release agent, place the stamps, and walk on them evenly to get a consistent pattern. You've got a limited time before the concrete sets too much. If you mess up a section, it's incredibly hard to correct without it looking obvious.
- Finishing touches: Edging, expansion joints, and control joints all need to be done at the right time.
Honestly, unless you've got significant concrete experience, trying to pour and stamp a large area yourself is a recipe for disappointment. It's a physically demanding job, and the timing is critical. One misstep, and you've got a permanent, expensive mistake. This is where Majestic Concrete Solutions really shines – we've got the crew, the tools, and the experience to get it done right the first time.
After the Project: Maintenance You Can Do
Once the concrete is poured, stamped, and cured, there's still some work to do, but this is definitely more in the DIY homeowner's wheelhouse. The most important thing is sealing. Stamped concrete needs a good seal to protect it from weather, UV rays, and general wear and tear. A good quality sealer will enhance the color, provide a protective layer, and make it easier to clean.
You'll typically want to wait at least 28 days for the concrete to fully cure before applying the initial sealer. After that, plan on resealing every 2-5 years, depending on traffic and exposure. For instance, a patio that's mostly shaded won't need resealing as often as a full-sun driveway. Cleaning is simple: a good sweep and occasional washing with a mild detergent and water will keep it looking great. Avoid harsh chemicals or pressure washing with too much force, as you can damage the sealer or even the concrete itself.
In winter, be careful with de-icing salts. Many de-icers can damage concrete, especially if it's not properly sealed. Look for products that are concrete-safe. Shoveling snow is fine, but avoid using metal shovels that can scratch the surface. Just like with anything, a little regular care goes a long way in keeping your stamped concrete looking fantastic for years.